Introduction
The Allure of Ice Diving Photography
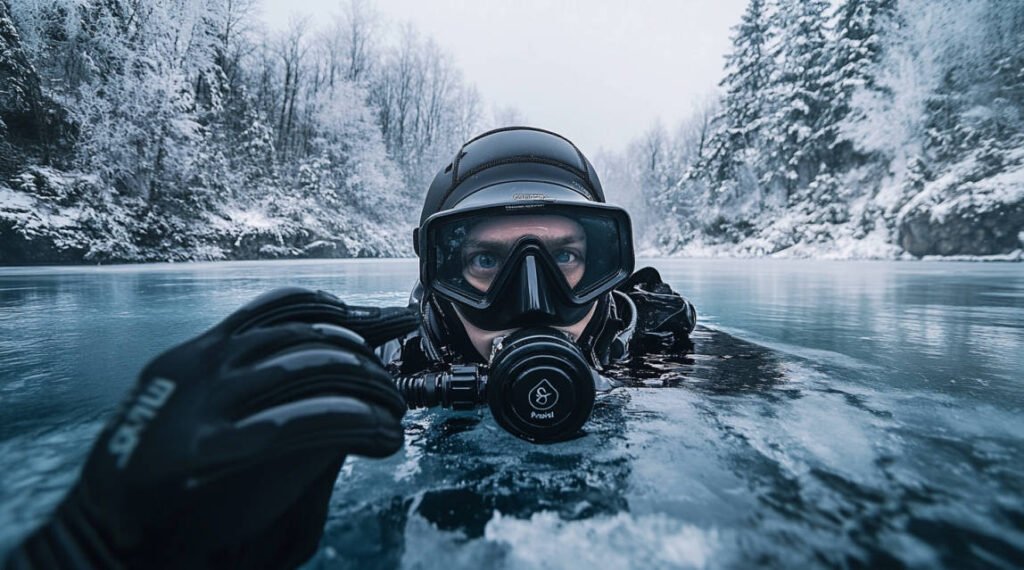
Ever thought about capturing the beauty hidden under ice? Ice diving offers a world of photo opportunities. The light through the ice, the landscapes, and marine life make it a photographer’s dream. Here, we’ll give you key ice diving photography tips for amazing shots.
Embracing the Challenges
Ice diving photography comes with its own set of challenges. The cold, limited light, and technical issues can be tough. But, with the right prep and gear, you can conquer these hurdles and find the hidden treasures under the ice.
Embracing these challenges can boost your skills and add excitement to your photography. It’s all about facing the obstacles head-on and learning from them.
Essential Equipment for Ice Diving Photography
To make the most of your ice diving photography adventure, having the right gear is crucial. Let’s dive into the essential equipment that will help you capture those awe-inspiring shots.
Choosing the Right Camera Gear
Selecting appropriate camera equipment is the first step toward successful ice diving photography. Your gear must withstand harsh conditions while delivering high-quality images.
Waterproof Cameras vs. Underwater Housings
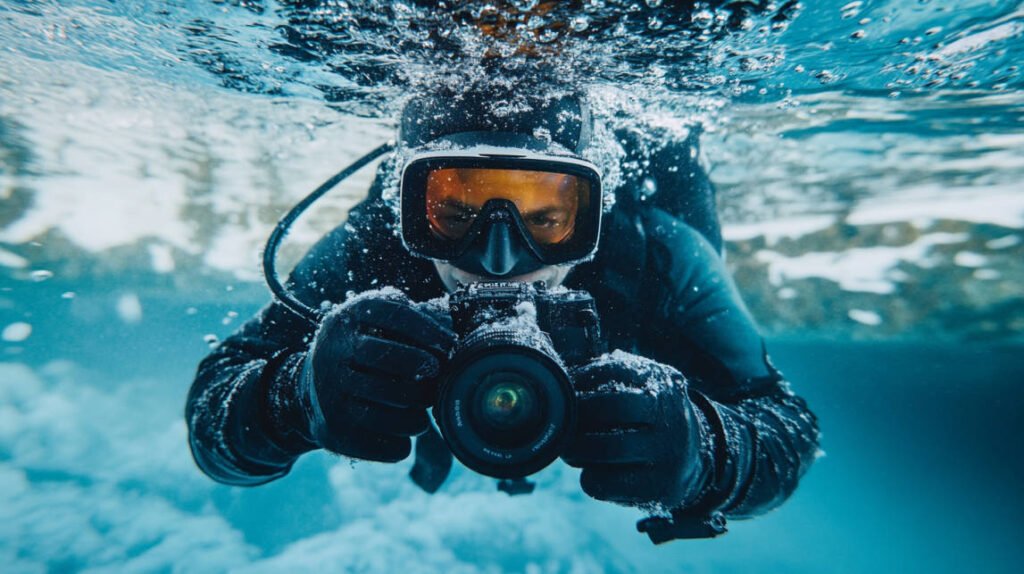
One of the key ice diving photography tips is deciding between a waterproof camera and an underwater housing for your existing camera.
- Waterproof Cameras: These are cameras specifically designed to function underwater without additional housing. They are typically compact and easy to handle, making them suitable for beginners. However, they may have limited features compared to professional cameras.
- Underwater Housings: If you already own a DSLR or mirrorless camera, investing in a quality underwater housing allows you to use your preferred camera underwater. Housings are available for many camera models and provide full access to controls, enabling you to adjust settings as needed.
Importance of Cold-Weather Performance
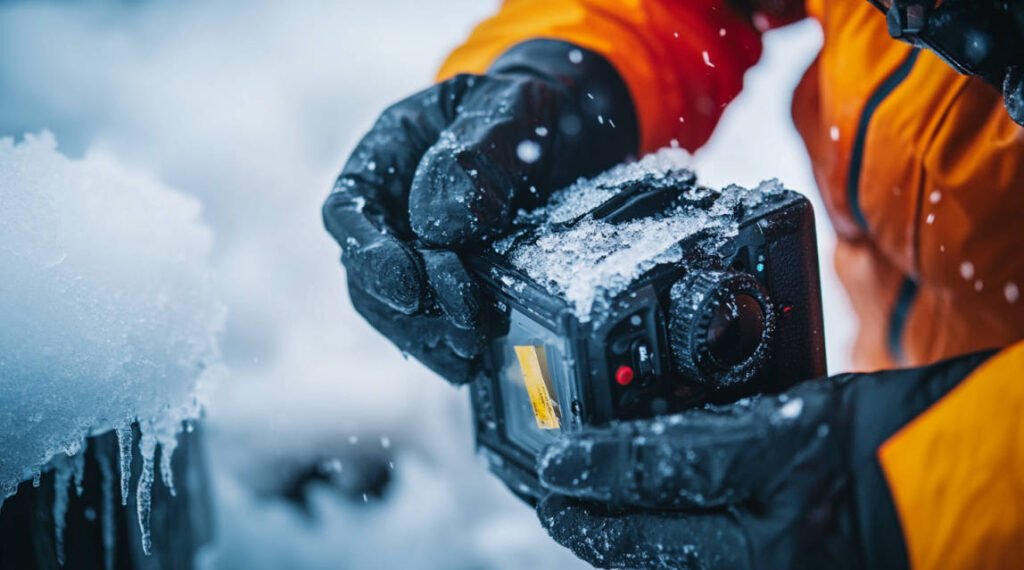
Cold temperatures can significantly impact your camera’s performance. Batteries drain faster, LCD screens can become sluggish, and condensation can form inside the camera.
- Battery Life: Bring extra batteries and keep them warm by storing them close to your body. Lithium-ion batteries perform better in cold conditions compared to alkaline ones.
- Camera Durability: Ensure your camera and housing are rated for the temperatures you’ll encounter. Look for equipment that functions reliably in sub-zero conditions.
- Controls Accessibility: Choose gear with large buttons or controls that are easy to operate while wearing thick gloves.
Lighting Solutions Under Ice
Under the ice, natural light diminishes rapidly, and colors can appear muted. Incorporating artificial lighting is essential to enhance your images.
Strobes and Flashes
Strobes are powerful flashes that can illuminate your subject, bringing out vivid colors and sharp details.
- Benefits of Strobes:
- Color Restoration: Restore the natural colors lost due to water absorption, especially reds and oranges.
- Freeze Motion: Capture fast-moving subjects with clarity.
- Adjustable Output: Control the intensity of light to suit different shooting conditions.
- Tips for Using Strobes:
- Positioning: Experiment with strobe placement to avoid backscatter (light reflecting off particles in the water).
- Synchronization: Ensure your camera and strobes are compatible for seamless operation.
Continuous Video Lights
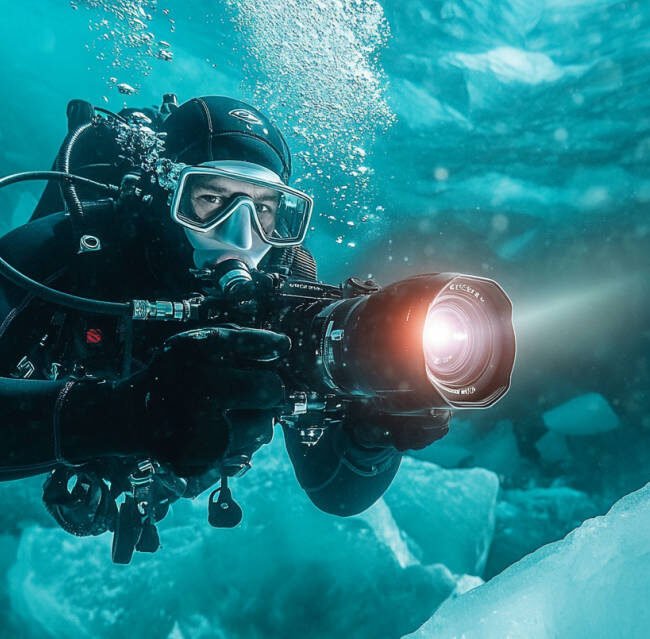
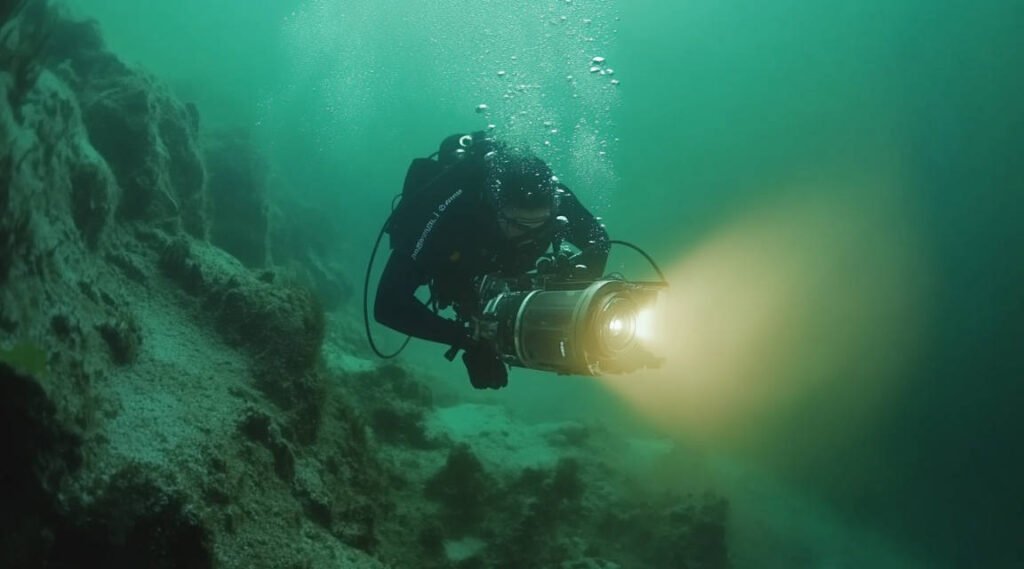
Continuous lights provide a steady source of illumination, ideal for both photography and videography.
- Advantages of Continuous Lights:
- Ease of Use: What you see is what you get, making it simpler to compose shots.
- Versatility: Useful for both stills and video.
- Ambient Enhancement: Can be used to brighten the overall scene.
- Considerations:
- Battery Consumption: Continuous lights consume more power; ensure you have sufficient battery life.
- Heat Emission: In cold environments, heat is less of an issue, but monitor your equipment to prevent overheating.
Protective Gear for You and Your Equipment
Staying warm and protecting your equipment from the harsh environment is vital for a successful ice diving photography expedition.
Dry Suits and Thermal Layers
A high-quality dry suit is essential to keep you warm and dry.
- Dry Suits:
- Waterproof Barrier: Prevents water from coming into contact with your body.
- Mobility: Choose a suit that allows comfortable movement, crucial for handling camera gear.
- Fit and Seals: Ensure proper fit and secure seals around wrists, neck, and ankles to prevent leaks.
- Thermal Layers:
- Insulation: Wear thermal undergarments designed for cold-water diving.
- Layering: Layering provides flexibility to adjust insulation based on conditions.
Anti-Fog Measures
Fogging can be a significant issue, obscuring your vision and ruining shots.
- Anti-Fog Inserts: Place moisture-absorbing inserts inside your camera housing to prevent condensation.
- Lens Treatments: Apply anti-fog solutions to your camera lens and mask.
- Proper Assembly: Assemble your equipment in a dry, warm environment to minimize moisture.
Planning Your Ice Dive Shoot
Embarking on an ice diving photography expedition requires meticulous planning to ensure both safety and success. In this section, we’ll explore essential ice diving photography tips that focus on preparation, helping you capture breathtaking images beneath the frozen surface.
Researching Dive Sites
Choosing the right location is the foundation of a successful ice diving photoshoot.
- Local Knowledge: Connect with local dive shops or experienced ice divers who can provide insights into the best sites. They can offer information on water clarity, unique underwater features, and potential hazards.
- Photographic Opportunities: Look for sites known for striking ice formations, interesting marine life, or historical artifacts like shipwrecks. These elements add depth and intrigue to your photographs.
- Accessibility and Safety: Ensure the site is accessible and that emergency services can reach you if needed. Always consider the thickness and stability of the ice.
Understanding Ice Conditions
One of the most crucial ice diving photography tips is to thoroughly understand the ice conditions before diving.
- Ice Thickness: The ice should be at least 4 inches (10 cm) thick to support a single person and more if equipment and groups are involved.
- Ice Quality: Clear, solid ice is stronger than slushy or layered ice. Avoid areas with running water underneath, as it weakens the ice.
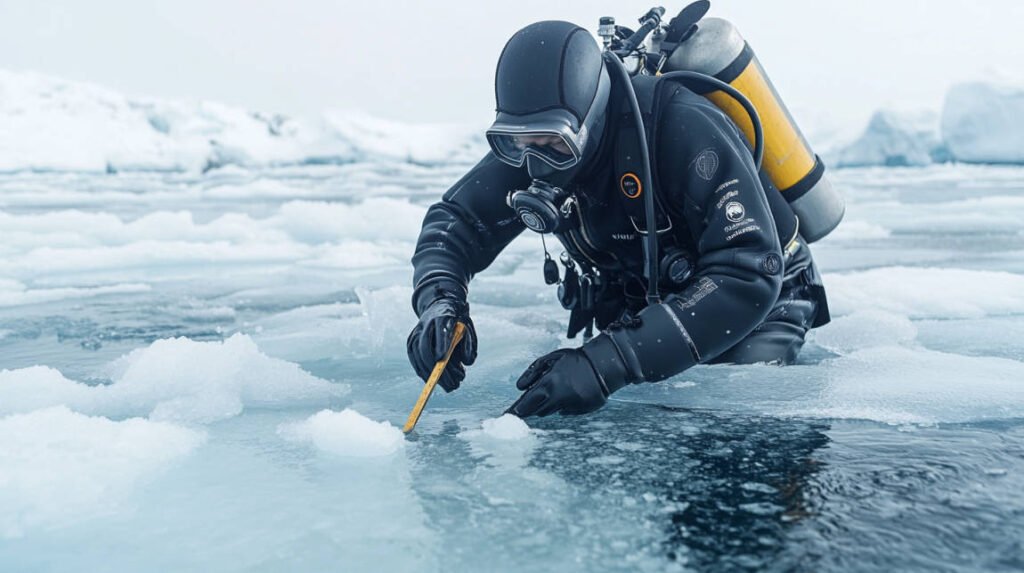
- Testing the Ice: Use an ice chisel or auger to test thickness in multiple locations.
Weather and Timing Considerations
Weather plays a significant role in both safety and the quality of your photographs.
- Weather Forecasts: Monitor the weather leading up to your dive. Avoid days with heavy snowfall, strong winds, or rapidly changing temperatures.
- Time of Day: Plan your dive during times when sunlight is optimal. Midday often provides the best natural light penetration under the ice.
- Temperature Fluctuations: Sudden temperature changes can affect ice stability. Consistently cold temperatures are ideal.
Mastering Underwater Photography Techniques
Capturing stunning images under the ice requires a solid grasp of underwater photography principles adjusted for the unique challenges of the icy environment.
Dealing with Low Light Conditions
Under the ice, light diminishes quickly, affecting color and clarity.
- Use of Artificial Lighting: Incorporate strobes or continuous lights to enhance illumination. This not only brightens your subject but also brings back the natural colors absorbed by the water.
- High ISO Settings: While increasing ISO can brighten images, be cautious of introducing noise. Modern cameras often handle higher ISO levels well, but it’s a balance.
- Fast Lenses: Opt for lenses with a wide maximum aperture (low f-number) to allow more light into the camera.
Achieving Proper Exposure
Exposure is critical in ice diving photography due to the contrasting light conditions.
Adjusting ISO, Shutter Speed, and Aperture
- ISO:
- Higher ISO: Use when natural light is scarce, but be mindful of increased image noise.
- Lower ISO: Preferred for image clarity when ample light is available, typically when using artificial lighting.
- Shutter Speed:
- Faster Shutter Speed: Freezes motion, essential for capturing moving subjects like marine life.
- Slower Shutter Speed: Allows more light but can introduce motion blur. Use a tripod or stabilize yourself to mitigate this.
- Aperture:
- Wide Aperture (Low f-stop): Lets in more light, creating a shallow depth of field ideal for isolating subjects.
- Narrow Aperture (High f-stop): Increases depth of field, useful for landscape shots but requires more light.
Composition Tips for Ice Diving
Creating compelling images is as much about composition as it is about technical settings.
Utilizing Natural Light
- Sunlight Through Ice: Position yourself to capture the ethereal glow of sunlight filtering through the ice. This can create dramatic backlighting and highlight ice textures.
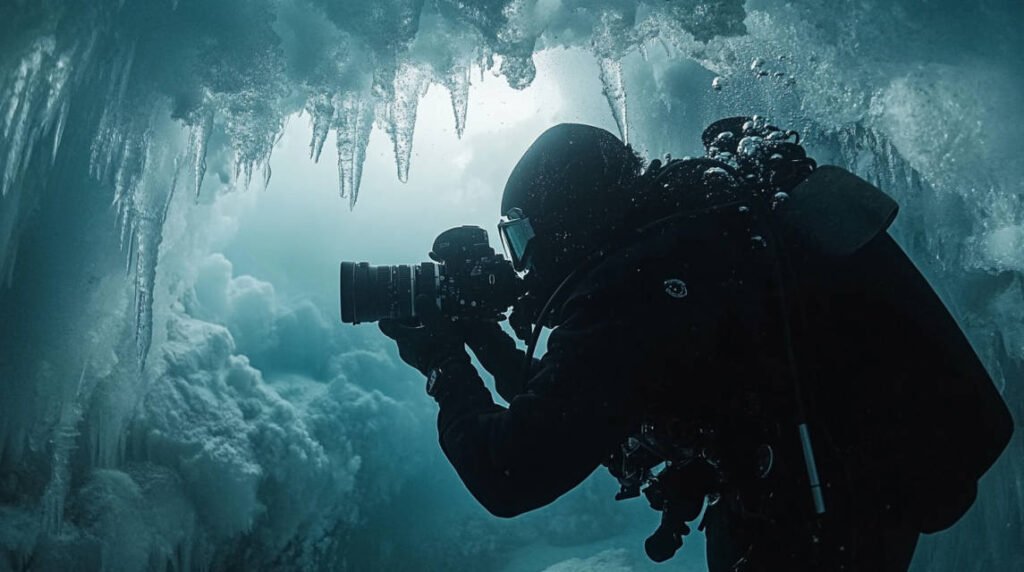
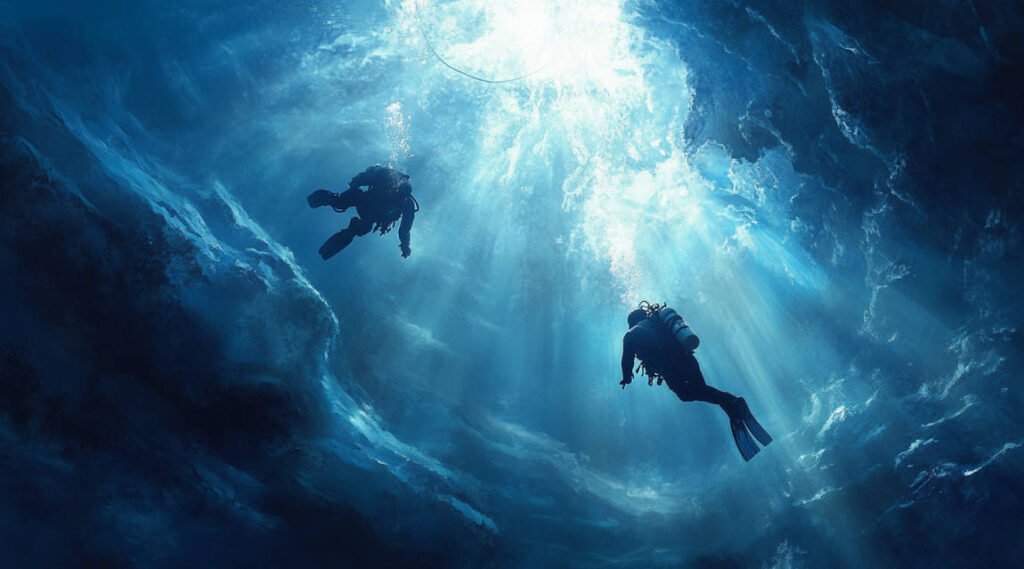
- Silhouettes: Use the contrast between the dark underwater environment and the bright ice above to create striking silhouettes of divers or marine life.

Framing and Perspective
- Rule of Thirds: Apply this classic photography principle to balance your composition, placing key elements along the grid lines and intersections.
- Leading Lines: Use natural lines, such as cracks in the ice or patterns in the seabed, to draw the viewer’s eye into the image.
- Change Angles: Experiment with shooting upwards towards the ice or downwards into the depths to provide unique perspectives.
Safety Measures for Ice Diving Photographers
Embarking on an ice diving photography adventure is both thrilling and challenging. However, safety should always be your top priority. In this section, we’ll cover essential ice diving photography tips to ensure you stay safe while capturing stunning underwater images beneath the ice.
Importance of a Dive Buddy
Never underestimate the value of a reliable dive buddy when ice diving. Diving under ice presents unique risks, and having a partner can make all the difference.
- Mutual Support: A dive buddy can assist with equipment checks, help manage unexpected situations, and provide immediate assistance if needed.
- Communication: Establish clear hand signals and communication methods before the dive. This ensures both divers are on the same page during the expedition.
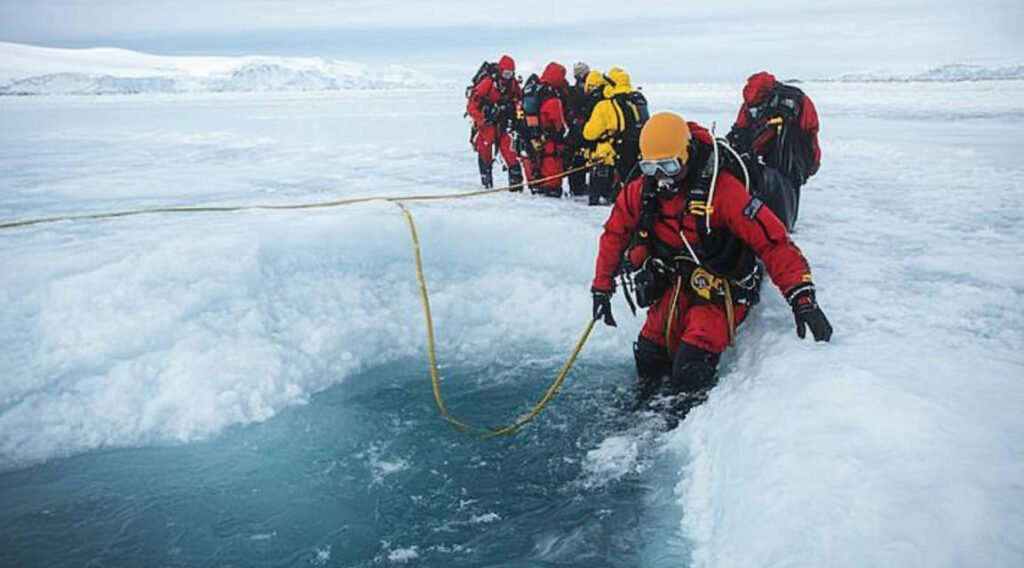
- Safety Line Management: When ice diving, divers are typically tethered to the surface with a safety line. A buddy system helps manage these lines effectively, preventing entanglement and ensuring both divers can navigate safely.
Managing Buoyancy While Shooting
Maintaining proper buoyancy control is crucial for both safety and capturing clear images.
- Steady Shots: Good buoyancy allows you to hover steadily, reducing motion blur in your photographs and preventing accidental contact with delicate ice formations or marine life.
- Air Consumption: Efficient buoyancy control conserves air, allowing for longer dives and more time to capture that perfect shot.
- Equipment Balance: The added weight of camera gear can affect your buoyancy. Practice adjusting your weights and BCD (Buoyancy Control Device) to accommodate your equipment before diving under ice.
Emergency Procedures
Being prepared for emergencies is an essential part of any ice diving photography tips list.
- Emergency Drills: Regularly practice emergency procedures such as mask clearing, regulator recovery, and sharing air with your buddy.
- Exit Strategy: Always know the location of your entry/exit point under the ice. Use markers or ropes to ensure you can find your way back, especially since disorientation can occur in low-visibility conditions.
- Surface Support: Have a trained support team on the surface who can assist in emergencies. They should be familiar with ice diving protocols and ready to act if needed.
Post-Dive Practices
After an exhilarating dive, proper post-dive practices are vital for your safety and the longevity of your equipment. Let’s delve into some important ice diving photography tips for after your dive.
Equipment Care After the Dive
Taking care of your gear ensures it remains in optimal condition for future adventures.
- Rinse with Fresh Water: Salt, minerals, and other contaminants can damage your equipment. Rinse all gear, including your camera housing, strobes, and diving apparatus, with fresh water to remove any residue.
- Dry Thoroughly: Allow your equipment to air dry in a warm, dry place. Pay special attention to drying your camera gear to prevent corrosion or mold growth.
- Inspect for Damage: Check all your equipment for signs of wear or damage, such as cracks in your housing, frayed lines, or degraded seals. Address any issues promptly to avoid problems on your next dive.
Reviewing and Editing Your Photos
The post-dive period is the perfect time to review your work and reflect on your experience.
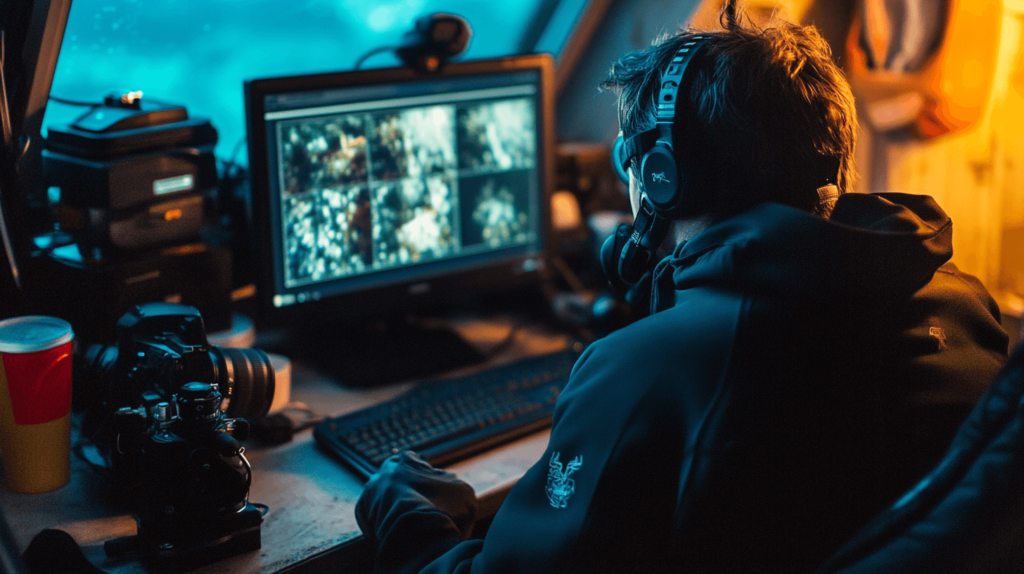
- Backup Your Images: Immediately transfer your photos to a secure storage device or cloud service to prevent data loss.
- Initial Review: Go through your images to assess composition, exposure, and focus. Take notes on what worked well and areas for improvement.
- Editing: Use photo editing software to enhance your images. Adjustments to brightness, contrast, and color balance can bring out the best in your underwater shots.
- Sharing Your Work: Consider sharing your images on social media or photography forums. Not only does this showcase your talent, but it also contributes to the community of ice diving enthusiasts.
Tips for Capturing Stunning Ice Diving Images
Capturing the mesmerizing beauty beneath the ice requires more than just technical know-how; it calls for creativity and an eye for unique opportunities. In this section, we’ll share valuable ice diving photography tips to help you take breathtaking images that stand out.
Focusing on Unique Ice Formations
One of the most captivating aspects of ice diving is the incredible variety of ice formations you can encounter. These natural sculptures offer endless possibilities for stunning photography.
- Explore Textures and Patterns: Look for intricate details like bubbles trapped in ice, crystal-like formations, and the interplay of light and shadow on the ice surface. These elements add depth and interest to your photos.
- Utilize Backlighting: Position yourself so that the light filters through the ice towards your camera. This backlighting can illuminate the ice formations, creating a magical glow that enhances their beauty.
- Get Close: Use macro lenses or the close-up setting on your camera to capture the fine details of ice structures. This can reveal patterns and textures not visible from a distance.
Capturing Marine Life
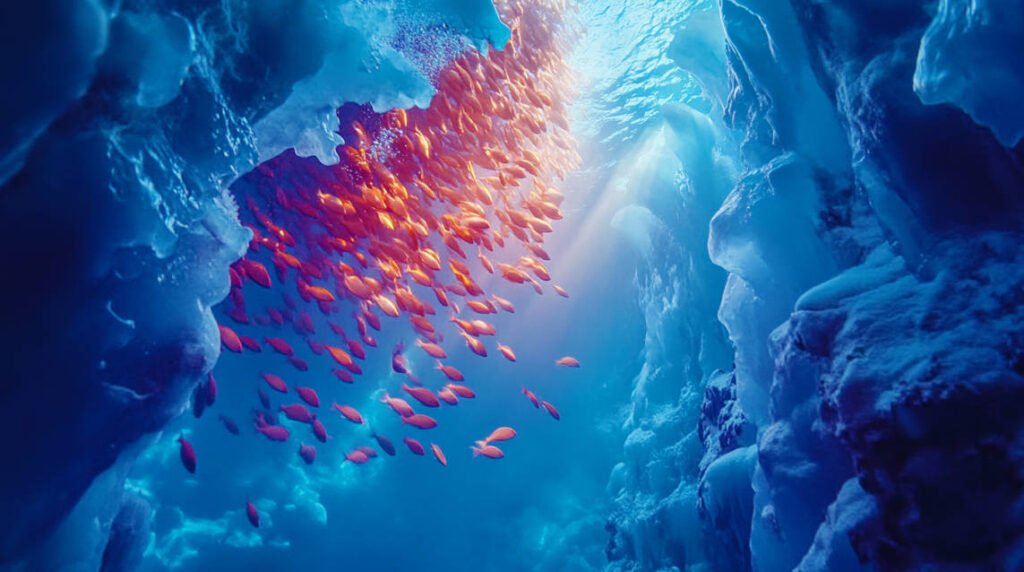
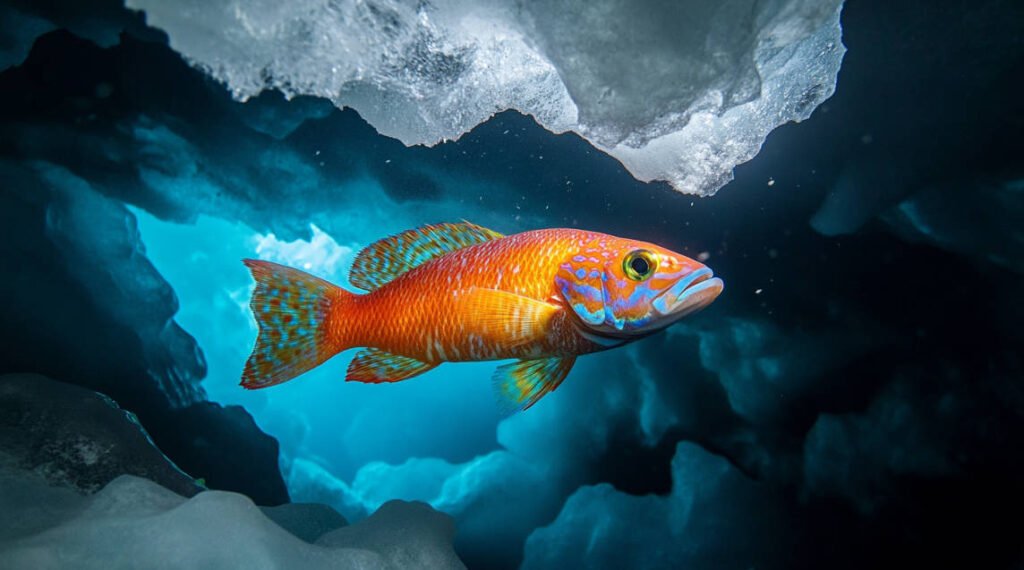
While the icy waters may seem barren, they are home to a variety of resilient marine creatures adapted to cold environments. Capturing these organisms adds life and dynamism to your underwater portfolio.
- Patience is Key: Marine life under the ice can be elusive. Take your time to observe and wait for the right moment when a fish or other creature enters your frame.
- Respect Wildlife: Always maintain a respectful distance to avoid disturbing the animals. This not only ensures their safety but also results in more natural and engaging photographs.
- Use Appropriate Lighting: Utilize your strobes or continuous lights to bring out the vibrant colors of marine life, which can appear muted due to light absorption underwater.
READ MORE: Types of Marine Life: Exploring Ocean Ecosystems and Diversity
Shooting Diver Portraits
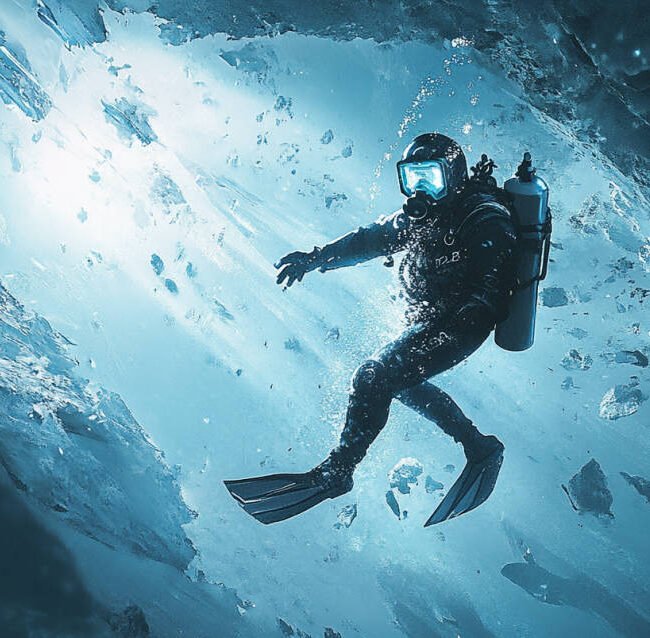
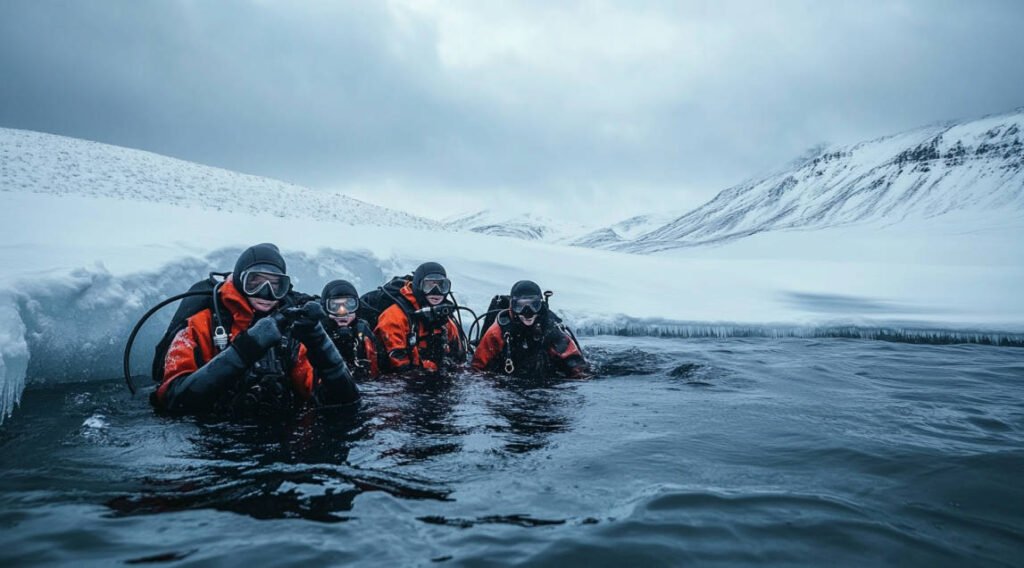
Including human elements in your ice diving photography adds a sense of scale and adventure to your images. Diver portraits can convey emotion, tell a story, and inspire others.
- Showcase Interaction: Capture moments where divers are exploring, photographing, or interacting with the environment. This adds a narrative element to your photos.
- Use Wide-Angle Lenses: Wide-angle lenses allow you to include both the diver and the surrounding environment, emphasizing the vastness of the underwater world.
- Play with Composition: Position the diver strategically within the frame using the rule of thirds or leading lines to guide the viewer’s eye.
Conclusion
Starting an ice diving photography journey is thrilling. It mixes the excitement of discovery with the skill of capturing nature’s secrets. With these ice diving photography tips, you’ll face the icy depths with confidence. You’ll create images that tell your story and inspire others.
Preparation, safety, and creativity are key. So, get ready, dive in, and let your camera show the stunning beauty under the ice.
FAQs
1. What camera settings are best for ice diving photography?
For ice diving photography, it’s essential to balance ISO, shutter speed, and aperture based on lighting conditions. Start with a higher ISO to compensate for low light but avoid excessive noise. Use a wider aperture (lower f-stop) to let in more light and a moderate shutter speed to prevent motion blur. Always adjust settings according to the specific environment and review your shots to make necessary tweaks.
2. Do I need specialized training for ice diving photography?
Yes, ice diving is considered advanced and requires specialized training. You should complete an ice diving certification course, which covers safety protocols, equipment handling, and emergency procedures specific to ice environments. Additionally, having underwater photography experience is highly beneficial.
3. How can I prevent my equipment from freezing?
To prevent your equipment from freezing, keep cameras and batteries warm before the dive by storing them close to your body. Use anti-fog inserts in your camera housing, and ensure all seals are properly lubricated and secured. After the dive, dry your equipment thoroughly and store it in a warm place.
4. What are the best lenses for ice diving photography?
Wide-angle lenses are excellent for capturing expansive underwater scenes and are highly recommended for ice diving photography. They allow you to get close to your subject while still including a significant portion of the environment in the frame. Macro lenses are also useful for detailed shots of ice formations and small marine life.
5. How can I improve visibility in my underwater photos?
Improving visibility involves several strategies: use artificial lighting like strobes or continuous lights to enhance colors and clarity; get close to your subject to reduce the amount of water between the lens and the subject; and avoid stirring up sediment by maintaining good buoyancy control. Additionally, shooting in areas with good natural visibility and during optimal lighting conditions can greatly enhance image quality.

